Posted on June 11, 2010 by mayrv10
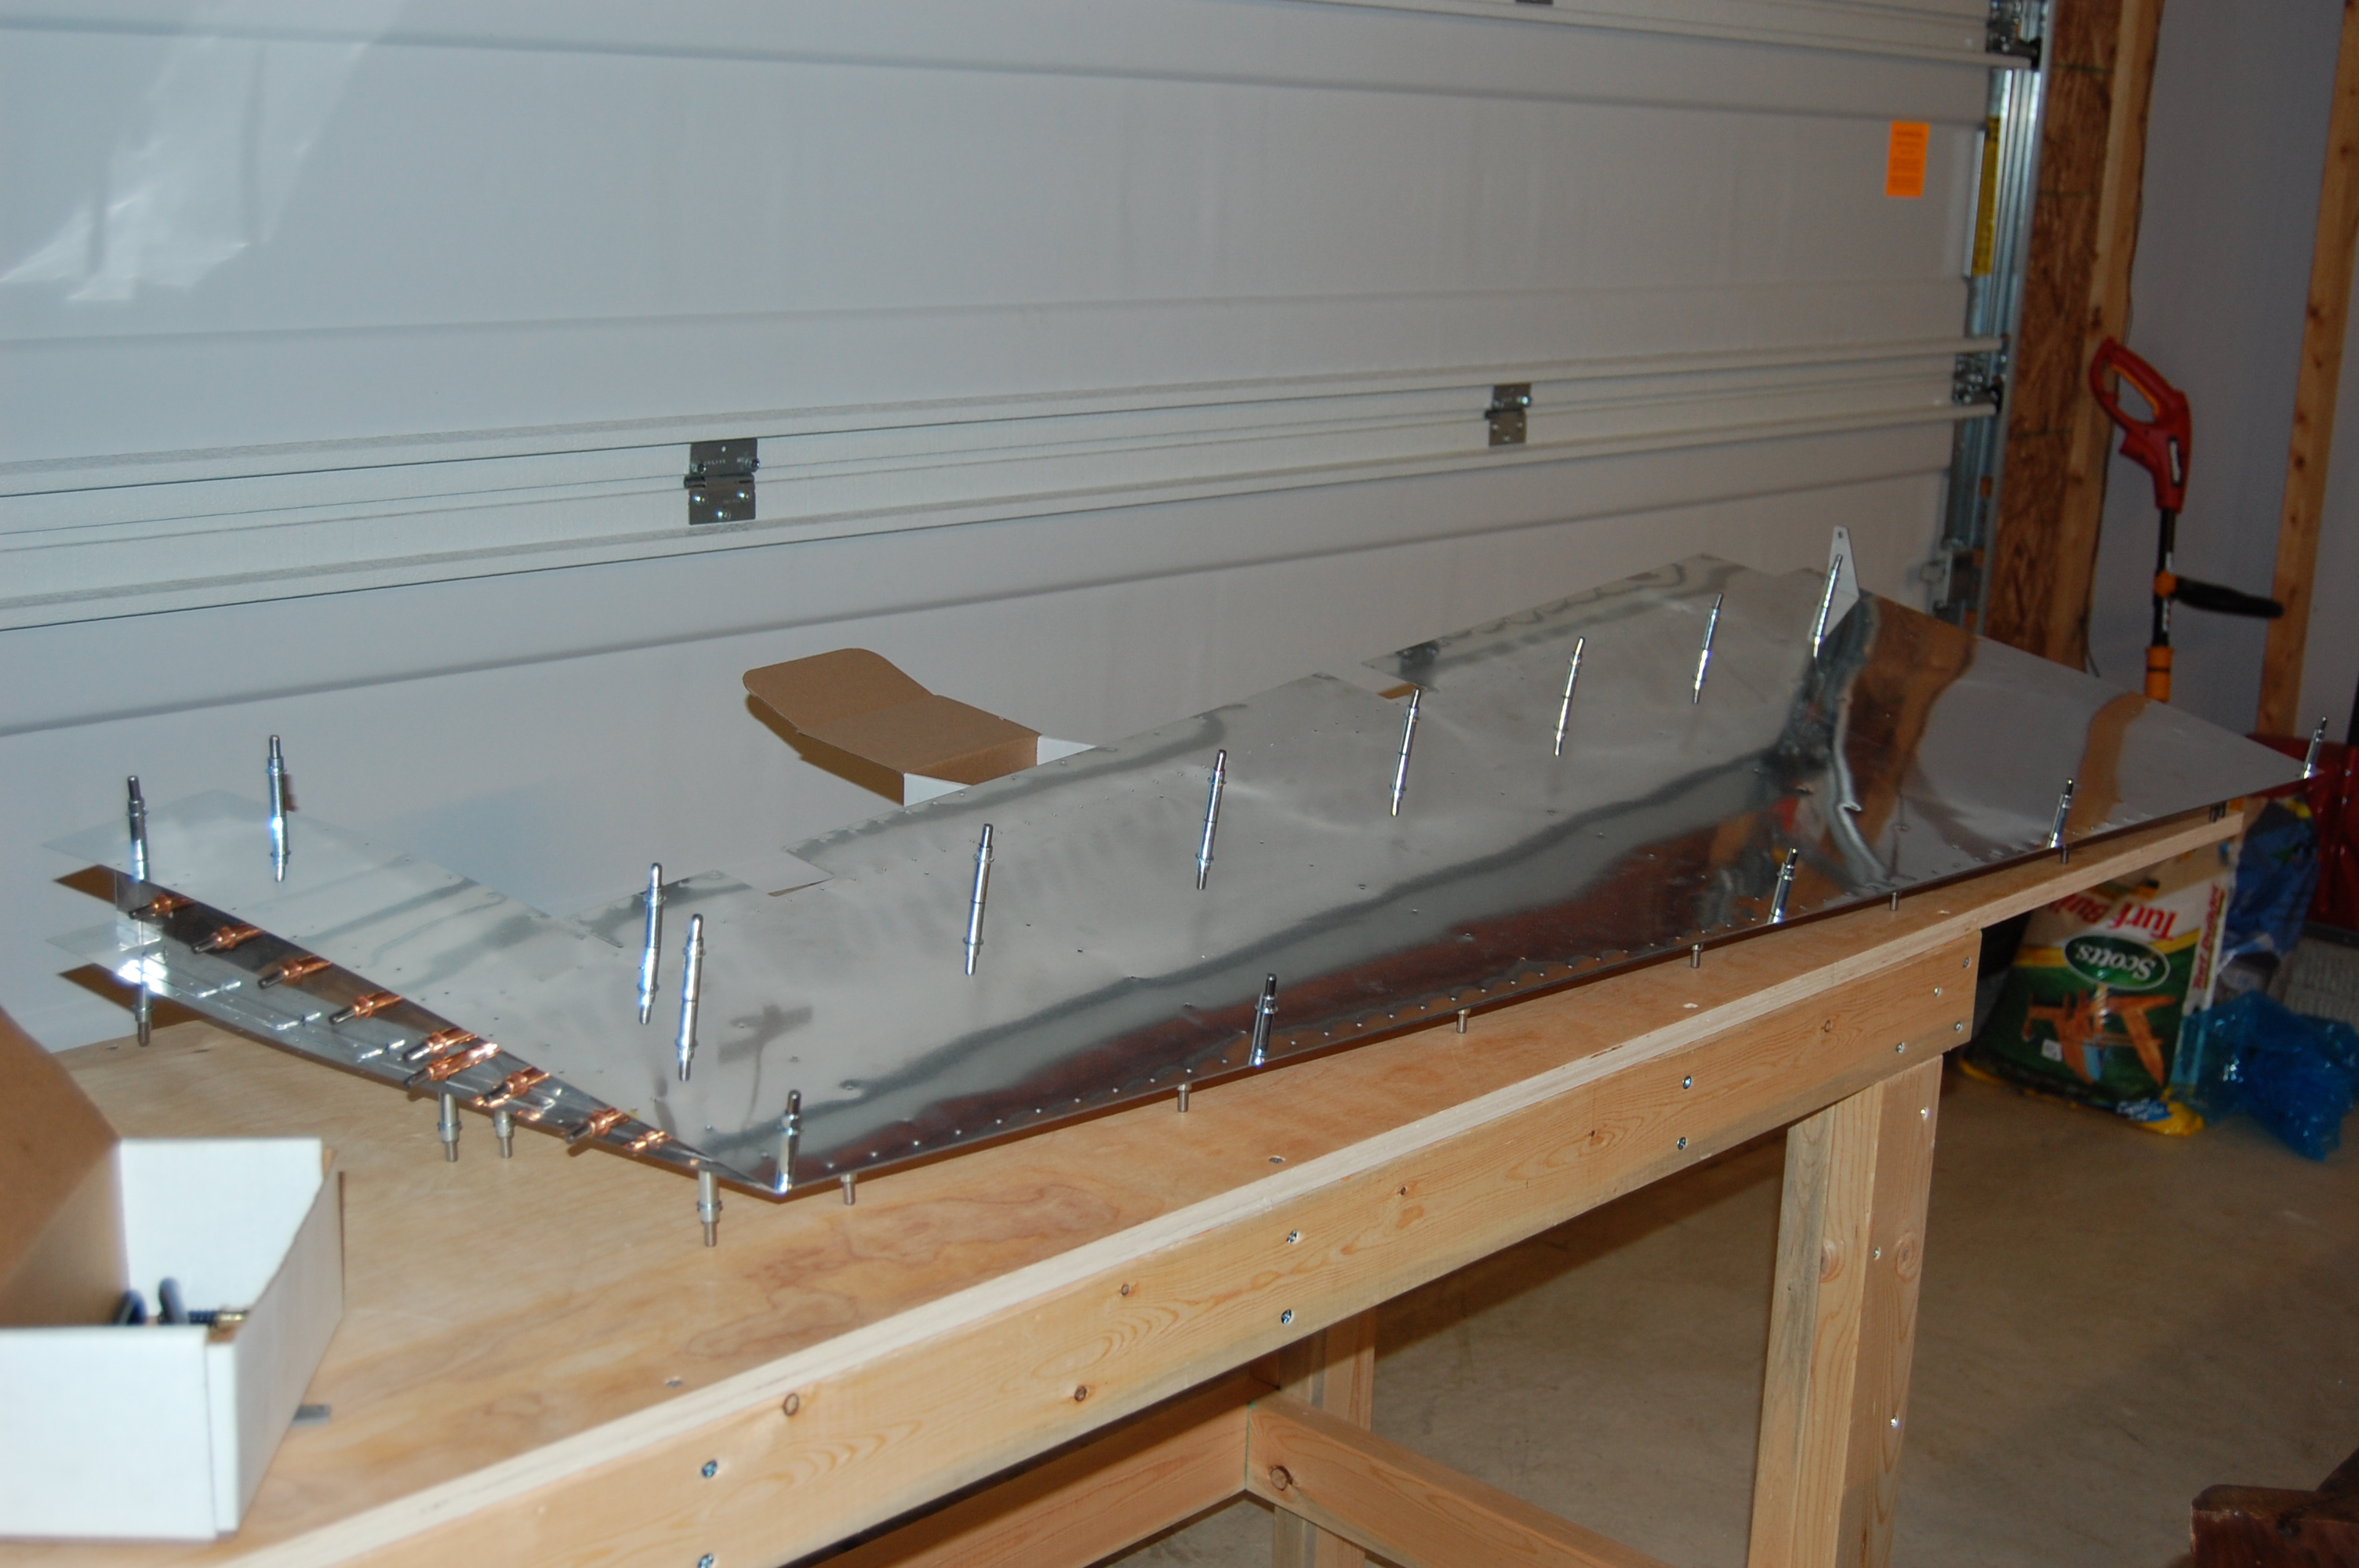
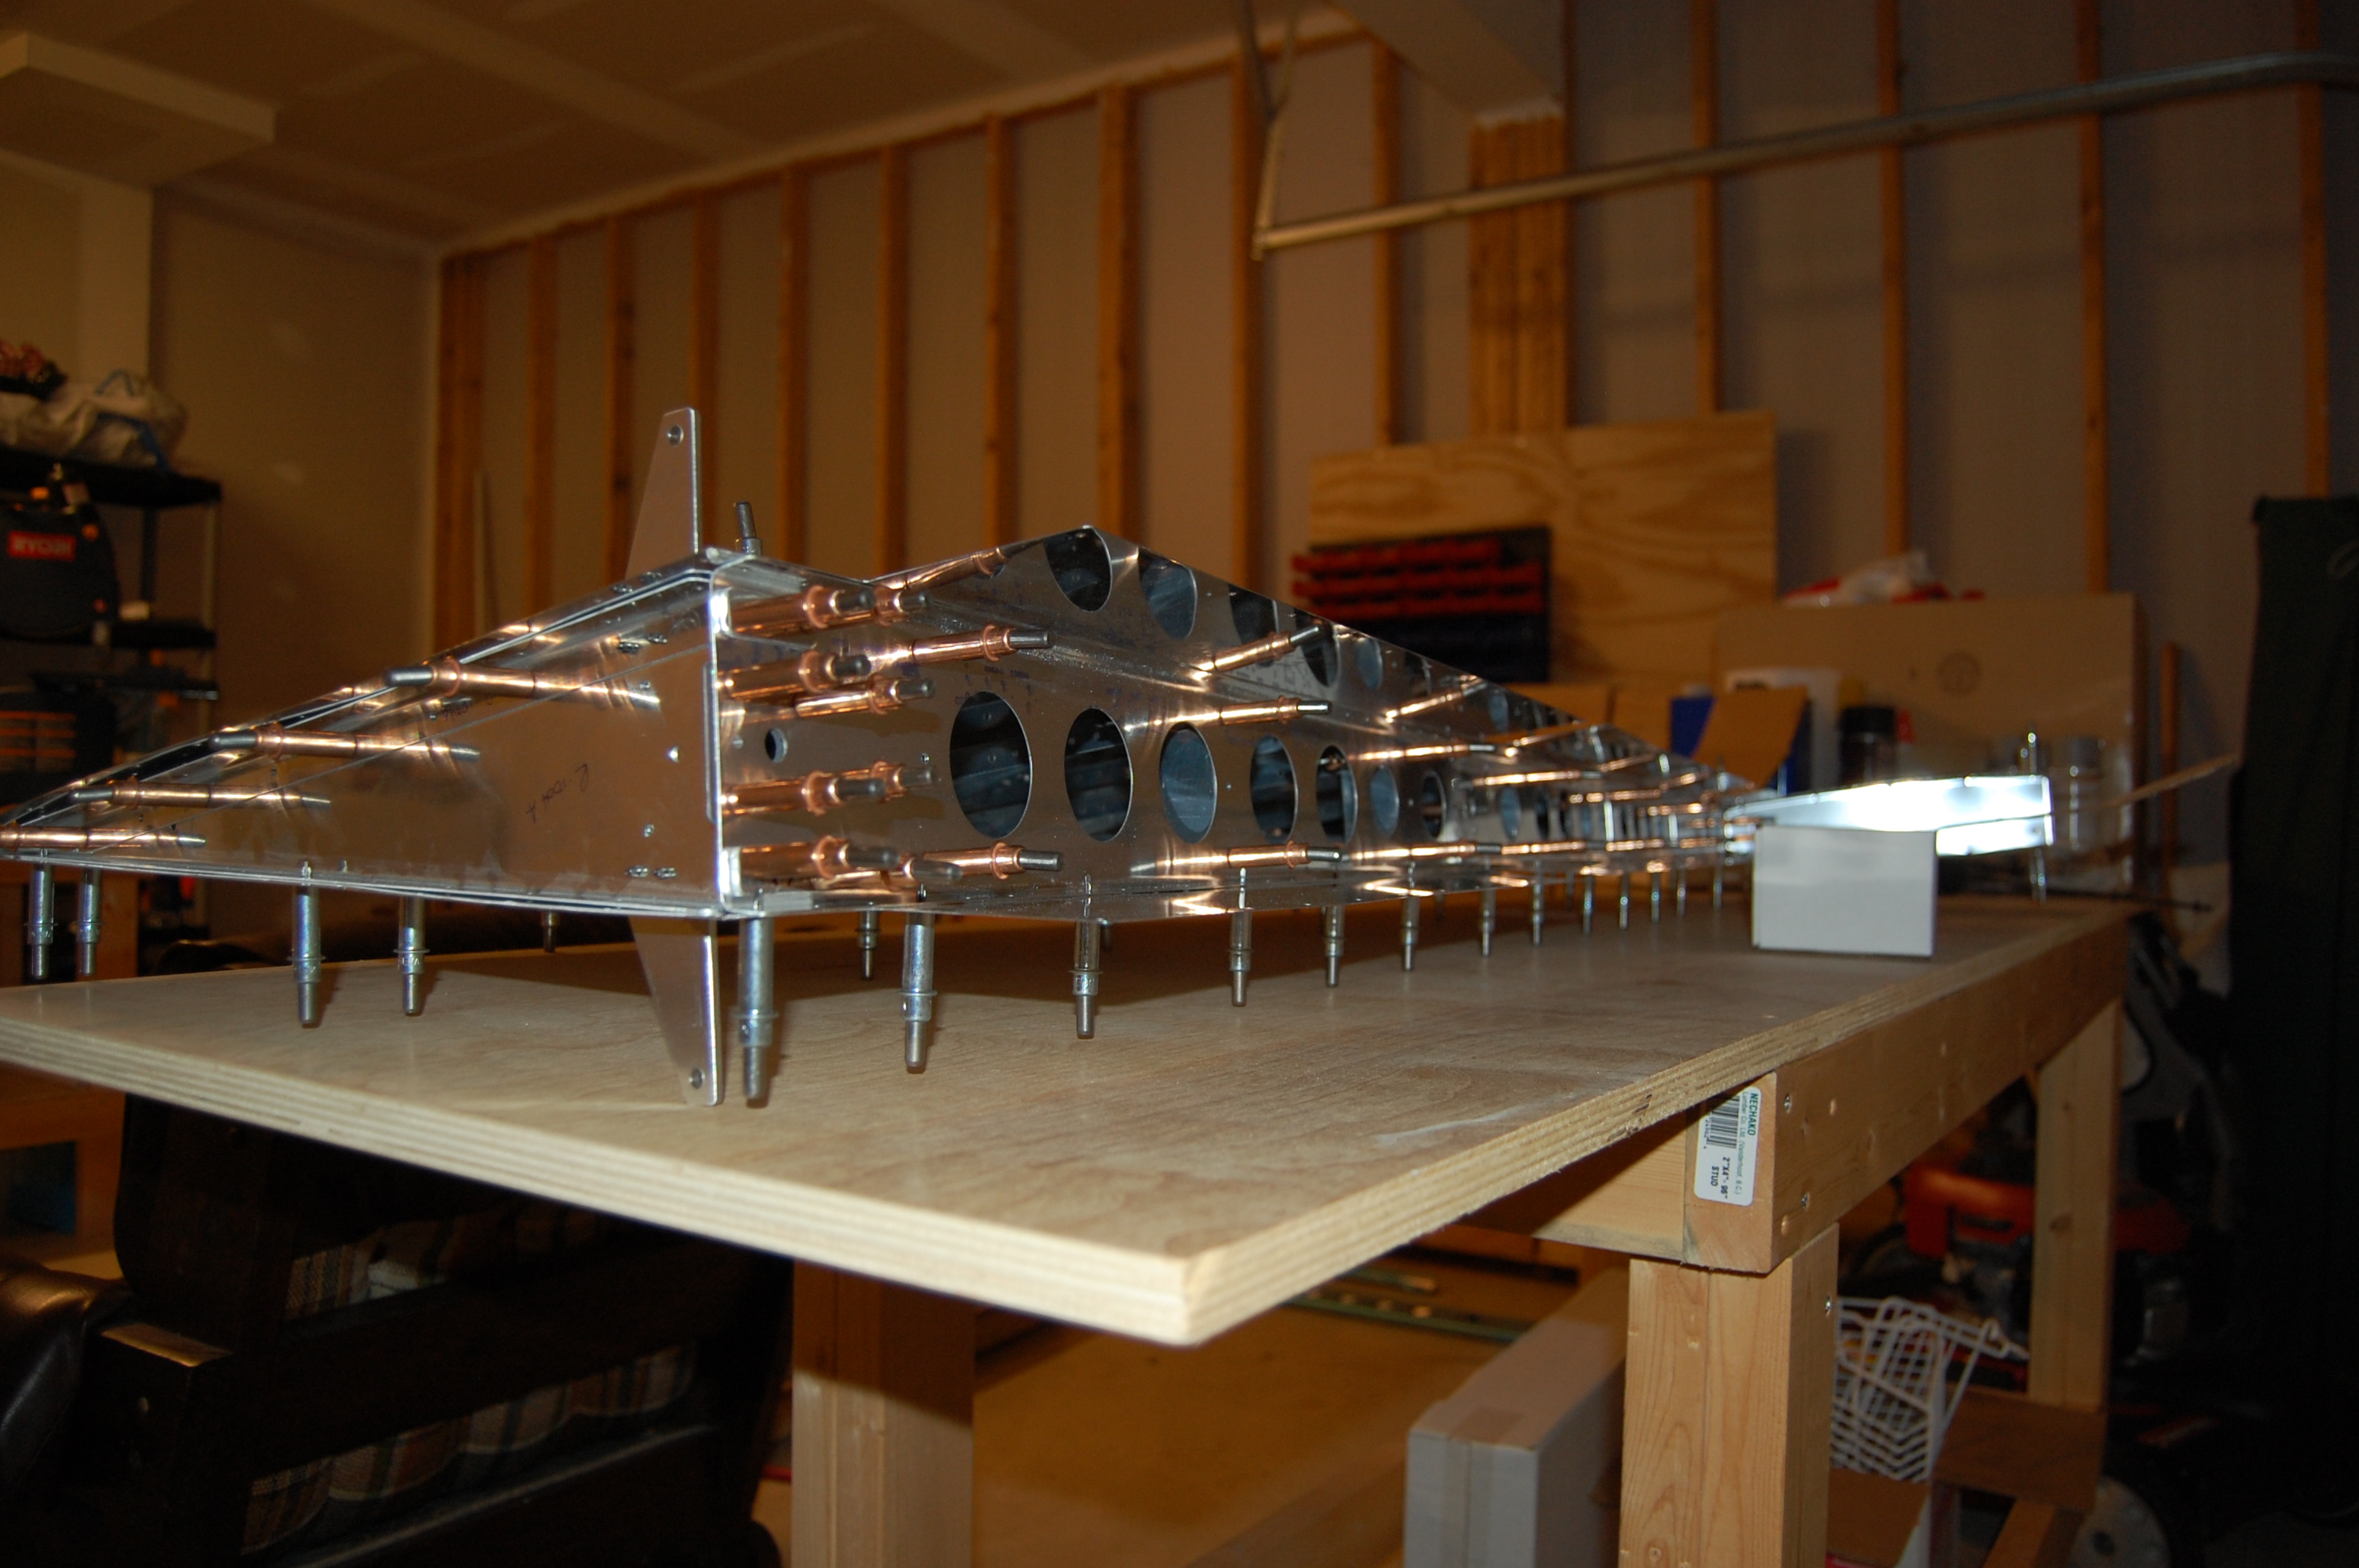
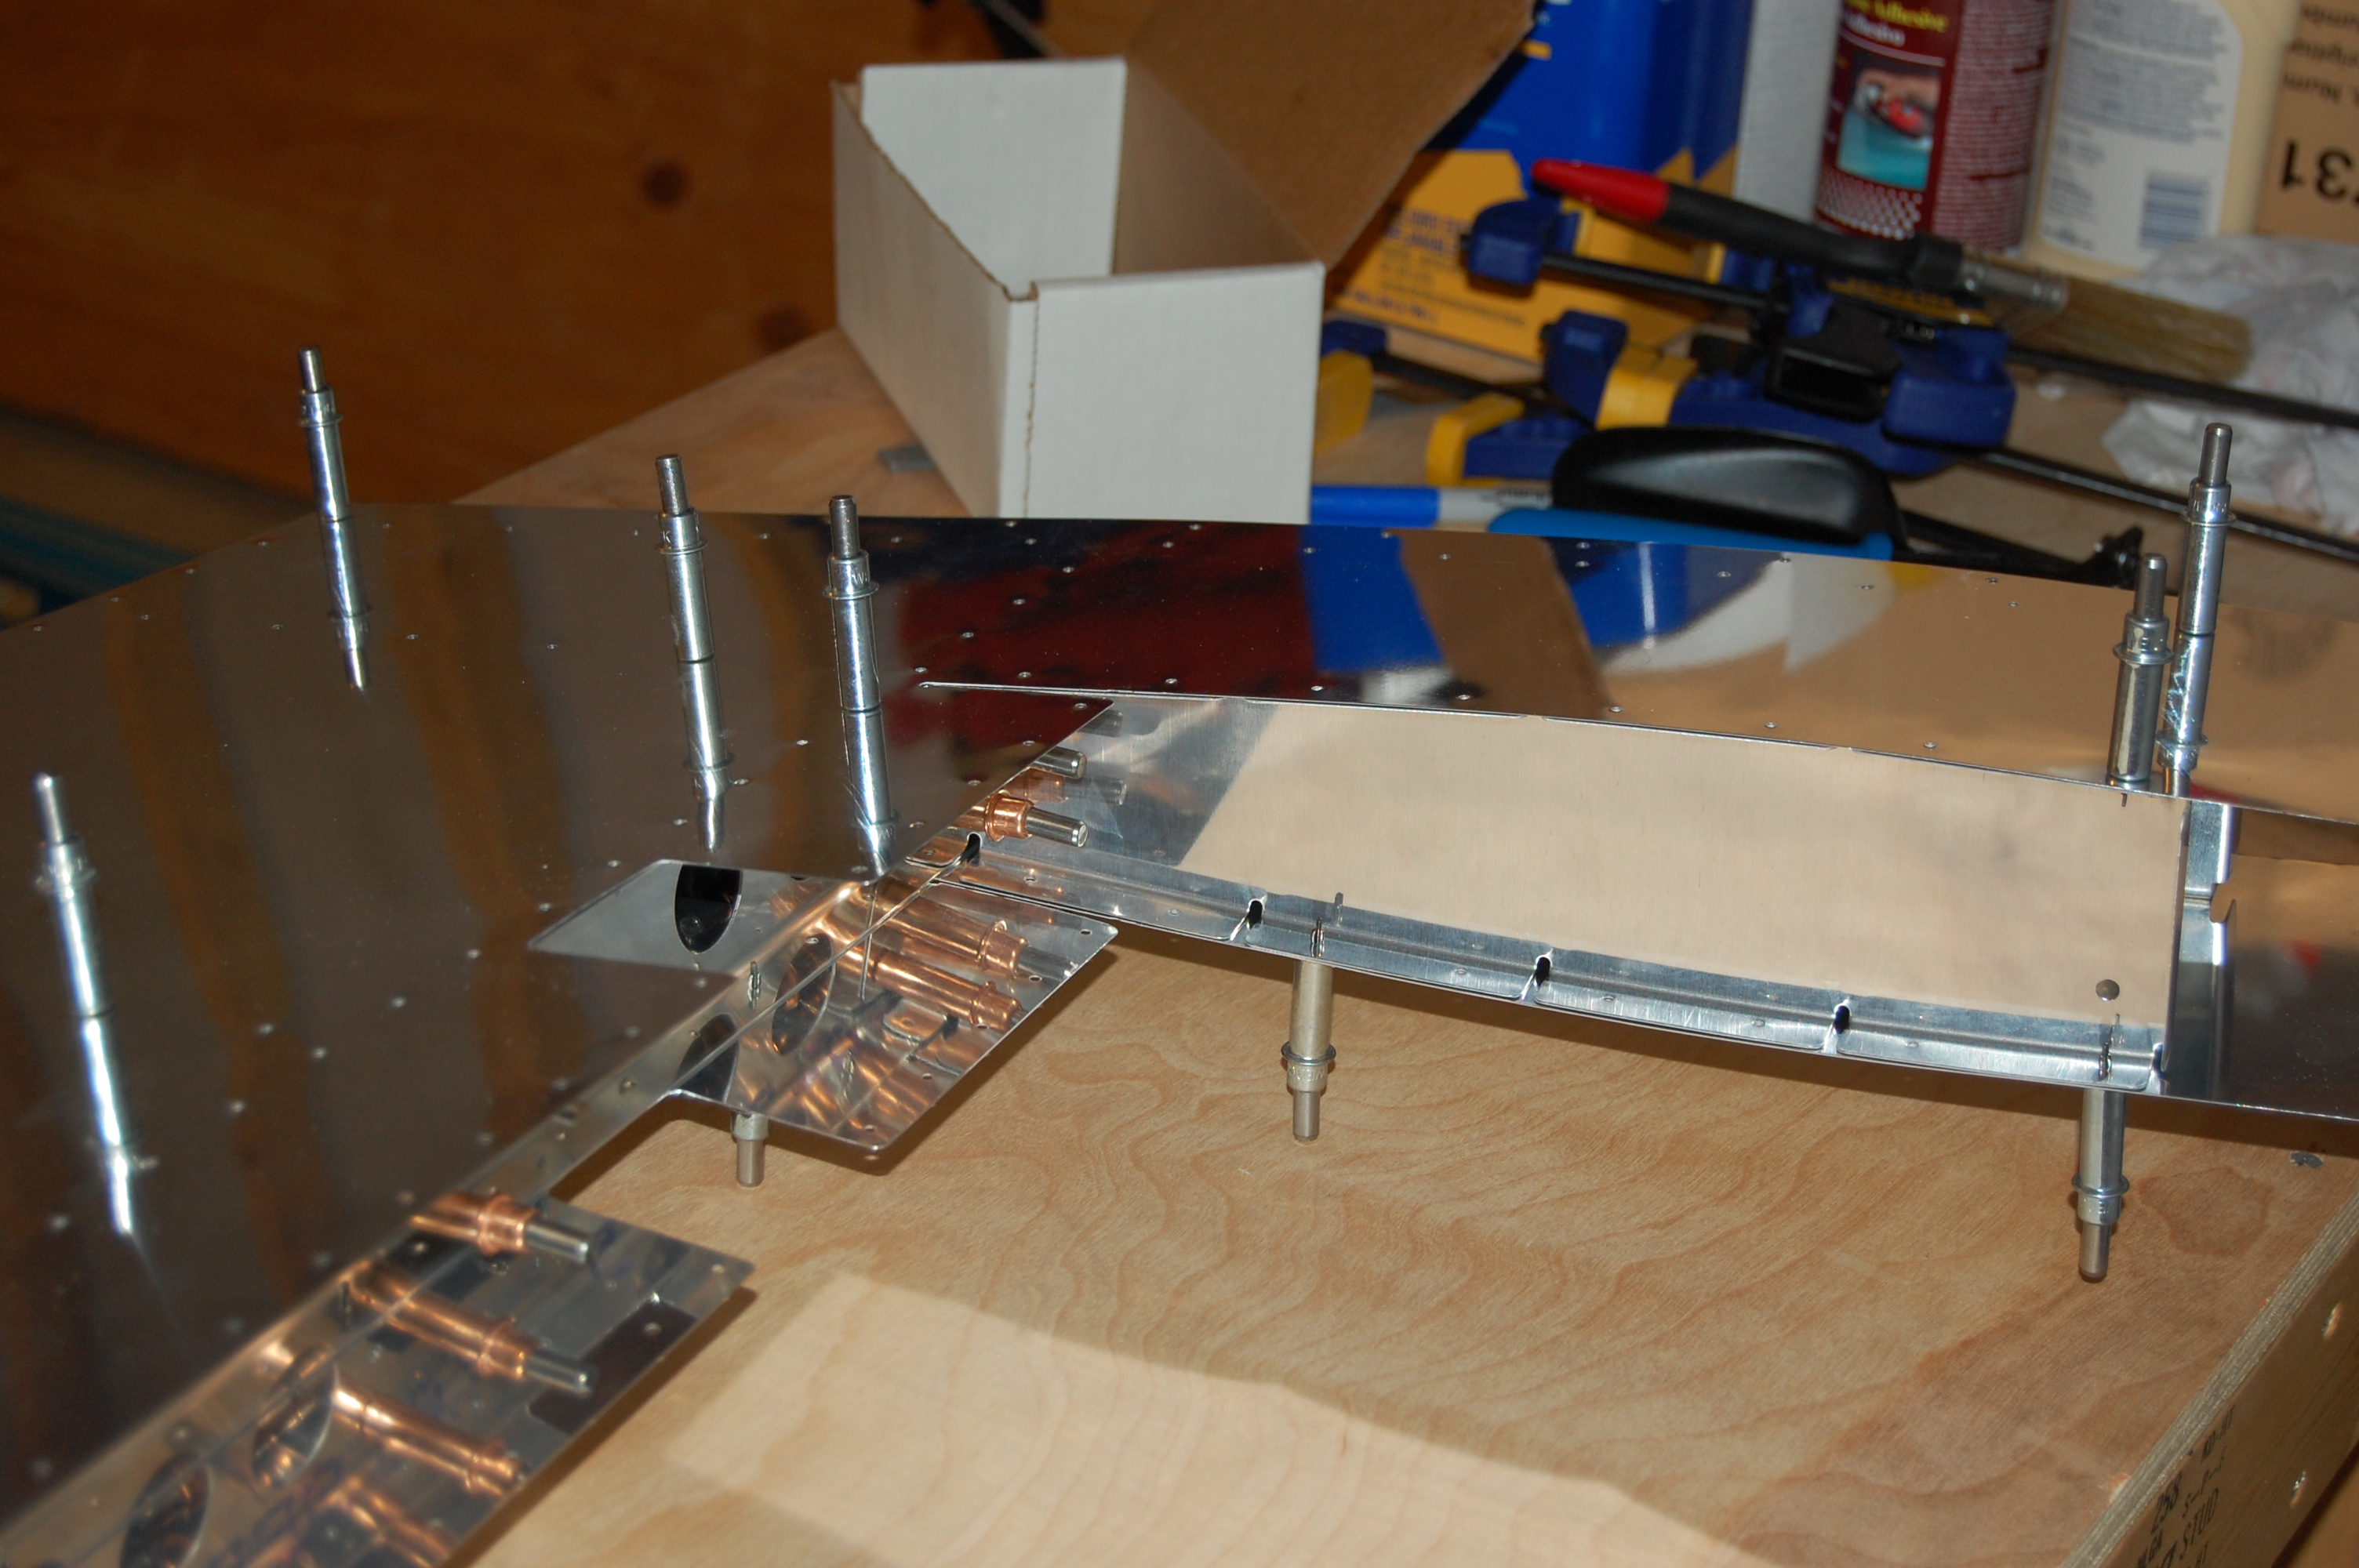
Pictures can’t do it justice. This trailing edge turned out absolutely perfect. The long 1/2″-thick slab of cold-rolled steel served well as the back-rivet plate and we followed the plans pretty closely. Only difference was instead of flipping the rudder over and finishing the machine heads with the mushroom set, we decided to do the shop heads with the mushroom set. Many thanks to Mike Cencula for coming down to help. I have no doubt it would not have turned out this nice if it were not for his help.
Filed under: Empennage | 1 Comment »
Posted on May 7, 2010 by mayrv10
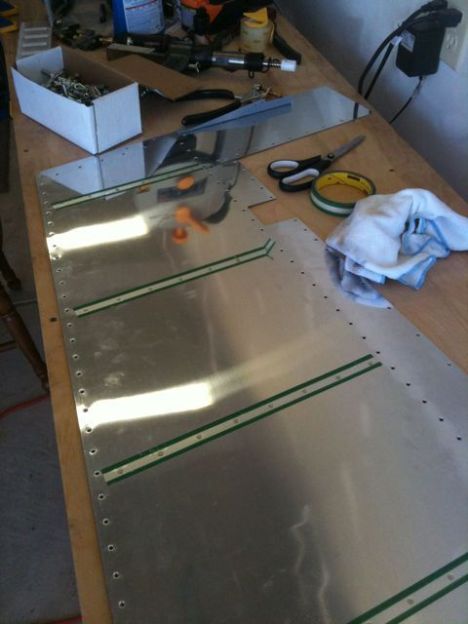
Got some excellent work done on the rudder this week. I primed the stiffeners and anywhere two pieces will touch with NAPA 7220. Then I got my first experience with back-riveting. I really enjoyed it. The enormous slab of steel I bought at a local shop did the trick as a back-rivet plate and the rivets on the rudder skins turned out great. I did some more riveting and I’m all ready to close out the rudder.

Filed under: Empennage | Leave a comment »
Posted on March 11, 2010 by mayrv10
Posted on February 15, 2010 by mayrv10
One of my clients is an electrician and he’s coming by today to do some work on the shop. Before I put up drywall on the far wall, I wanted to get some outlets installed over there. Also, he is going to run a dedicated circuit to those outlets, install some switches and hang a few shop lights.
My folks are coming through town tonight, and Dad said he would bring down the propane heater that he has in his hangar so I can heat the shop with it. Aren’t Dads great?
Filed under: Uncategorized | Leave a comment »
Posted on February 14, 2010 by mayrv10
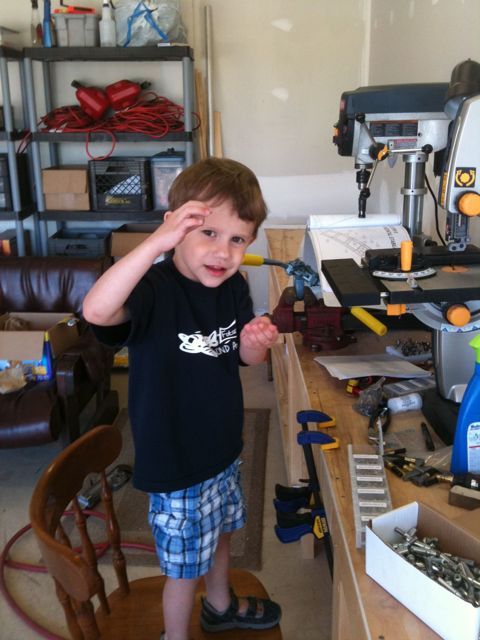
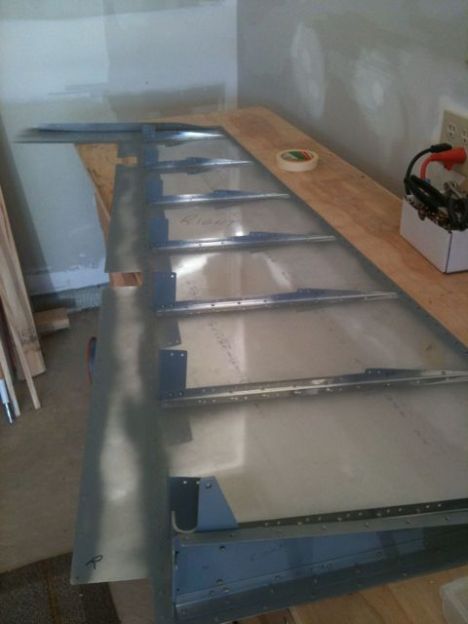
I had a little help from Isaiah – in the form of trying to drive his tricycle over the rudder skins – and now nearly all the rudder components are ready to prime and assemble. The only remaining thing to do is to countersink both sides of the trailing edge piece. I will use a trailing edge piece from an elevator underneath the piece to keep it perpendicular to the countersink bit while on the drill press.
Filed under: Uncategorized | Leave a comment »
Posted on February 8, 2010 by mayrv10
Super bowl Sunday and we are all snowed in. We have about ten inches on the ground. It snowed all weekend but today was a beautiful day to dig out.
Last night, I took all of the rudder components – ribs, spar and skins – inside the house and sat down in the family room to deburr the rivet holes. It sounds so simple, but that is not something I had the luxury of doing when the project was at the hangar.
After putting the snowblower through the paces, I decided to setup the dimpling c-frame in the basement where I have a little more room. I was able to get nearly all the holes dimpled in both skins. I’m very pleased with the results from the cleaveland c-frame tool. The dimples are very crisp and it’s not too loud at all. I also like using the pneumatic squeezer to dimple along the edges, but it’s a lot easier to put a hole where one shouldn’t be when you’re using the squeezer.
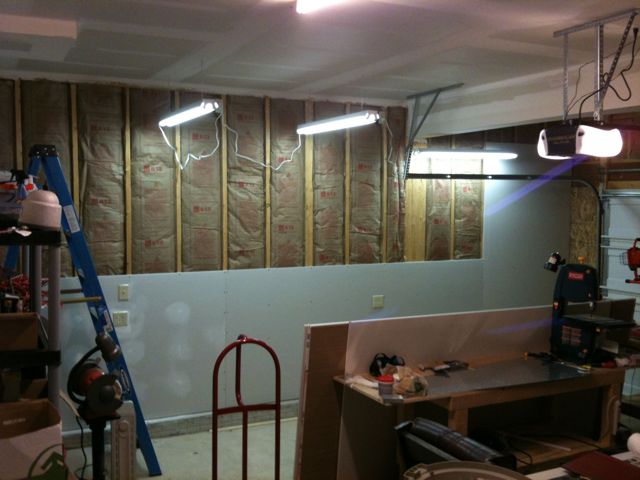
I met Rick Blaes at the Home Depot (a.k.a. “Homer’s”). We picked up a bunch of drywall and related supplies so I can finish the garage this week. Hopefully I can get around to that and still make some progress on the plane.
Filed under: Empennage | Leave a comment »
Posted on February 5, 2010 by mayrv10
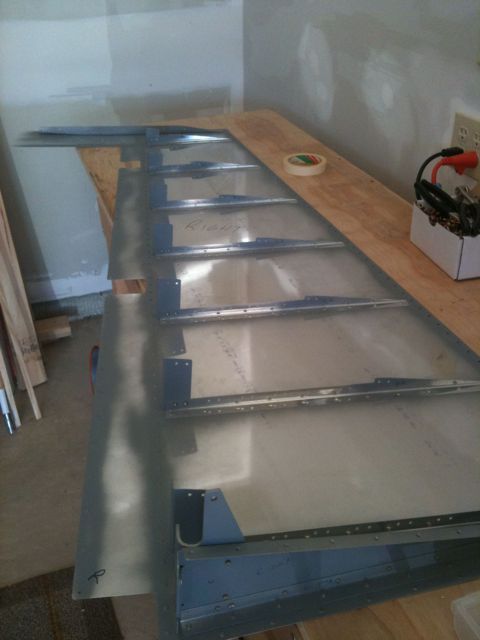
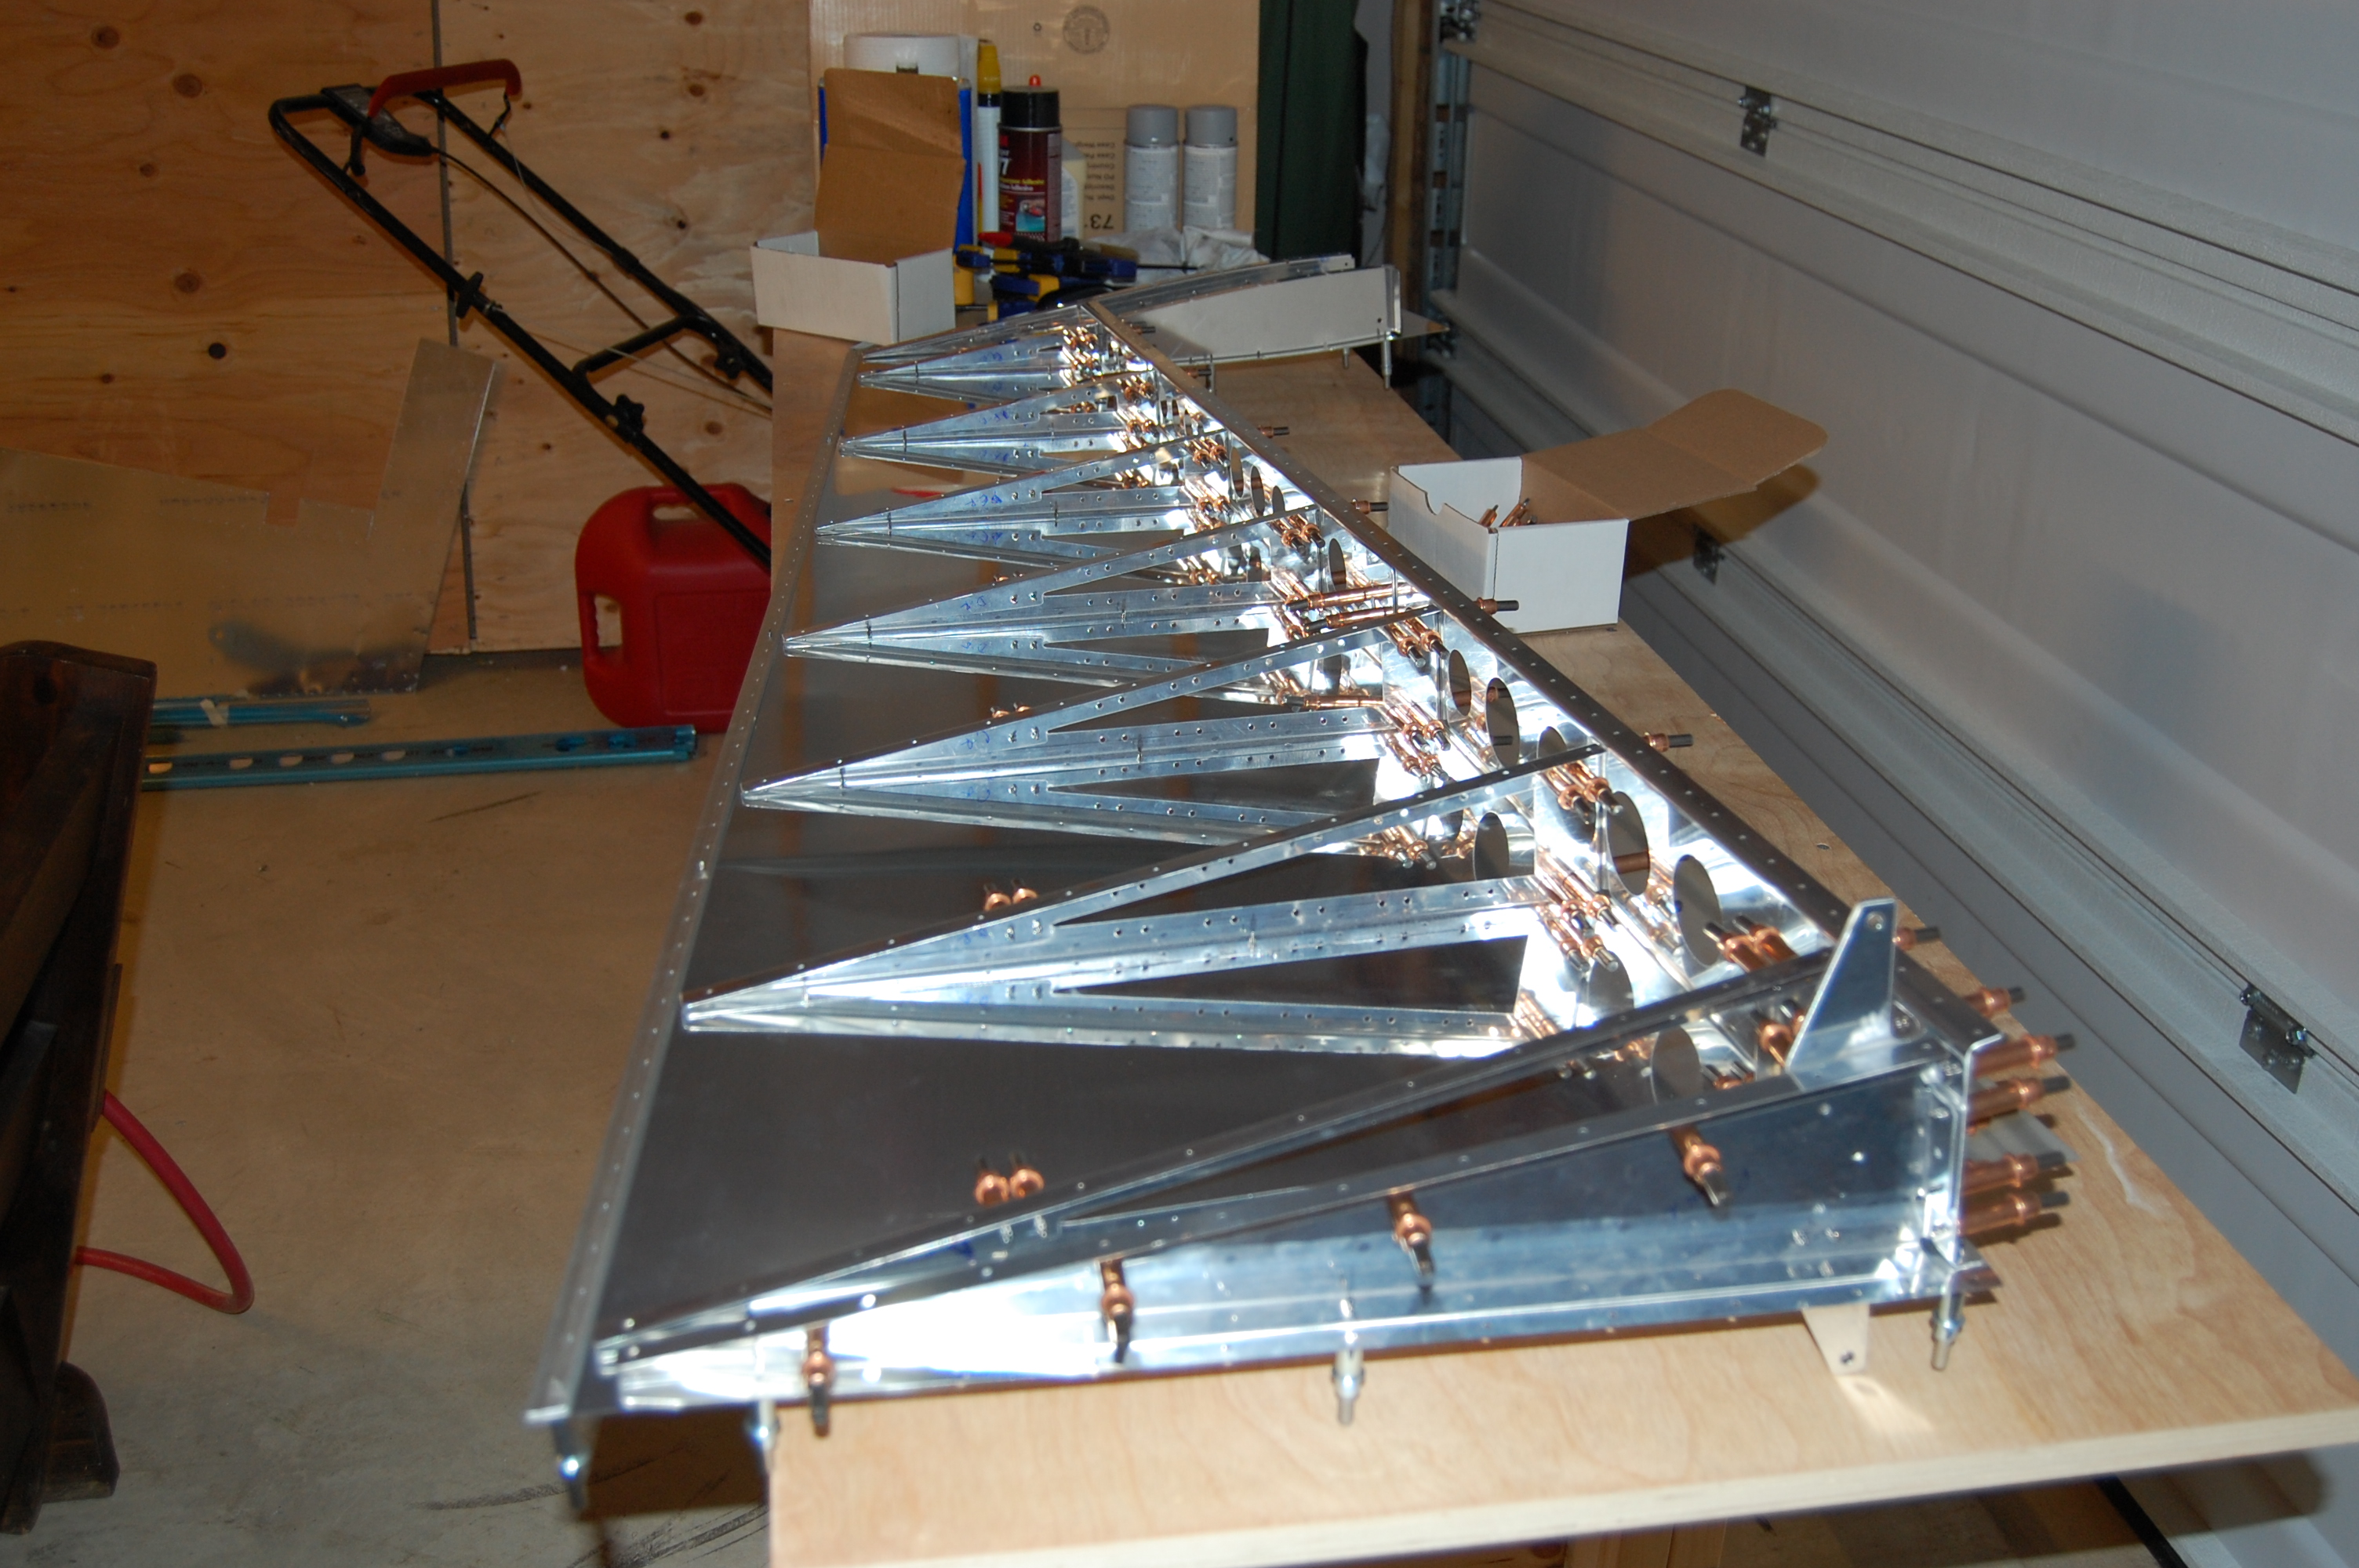
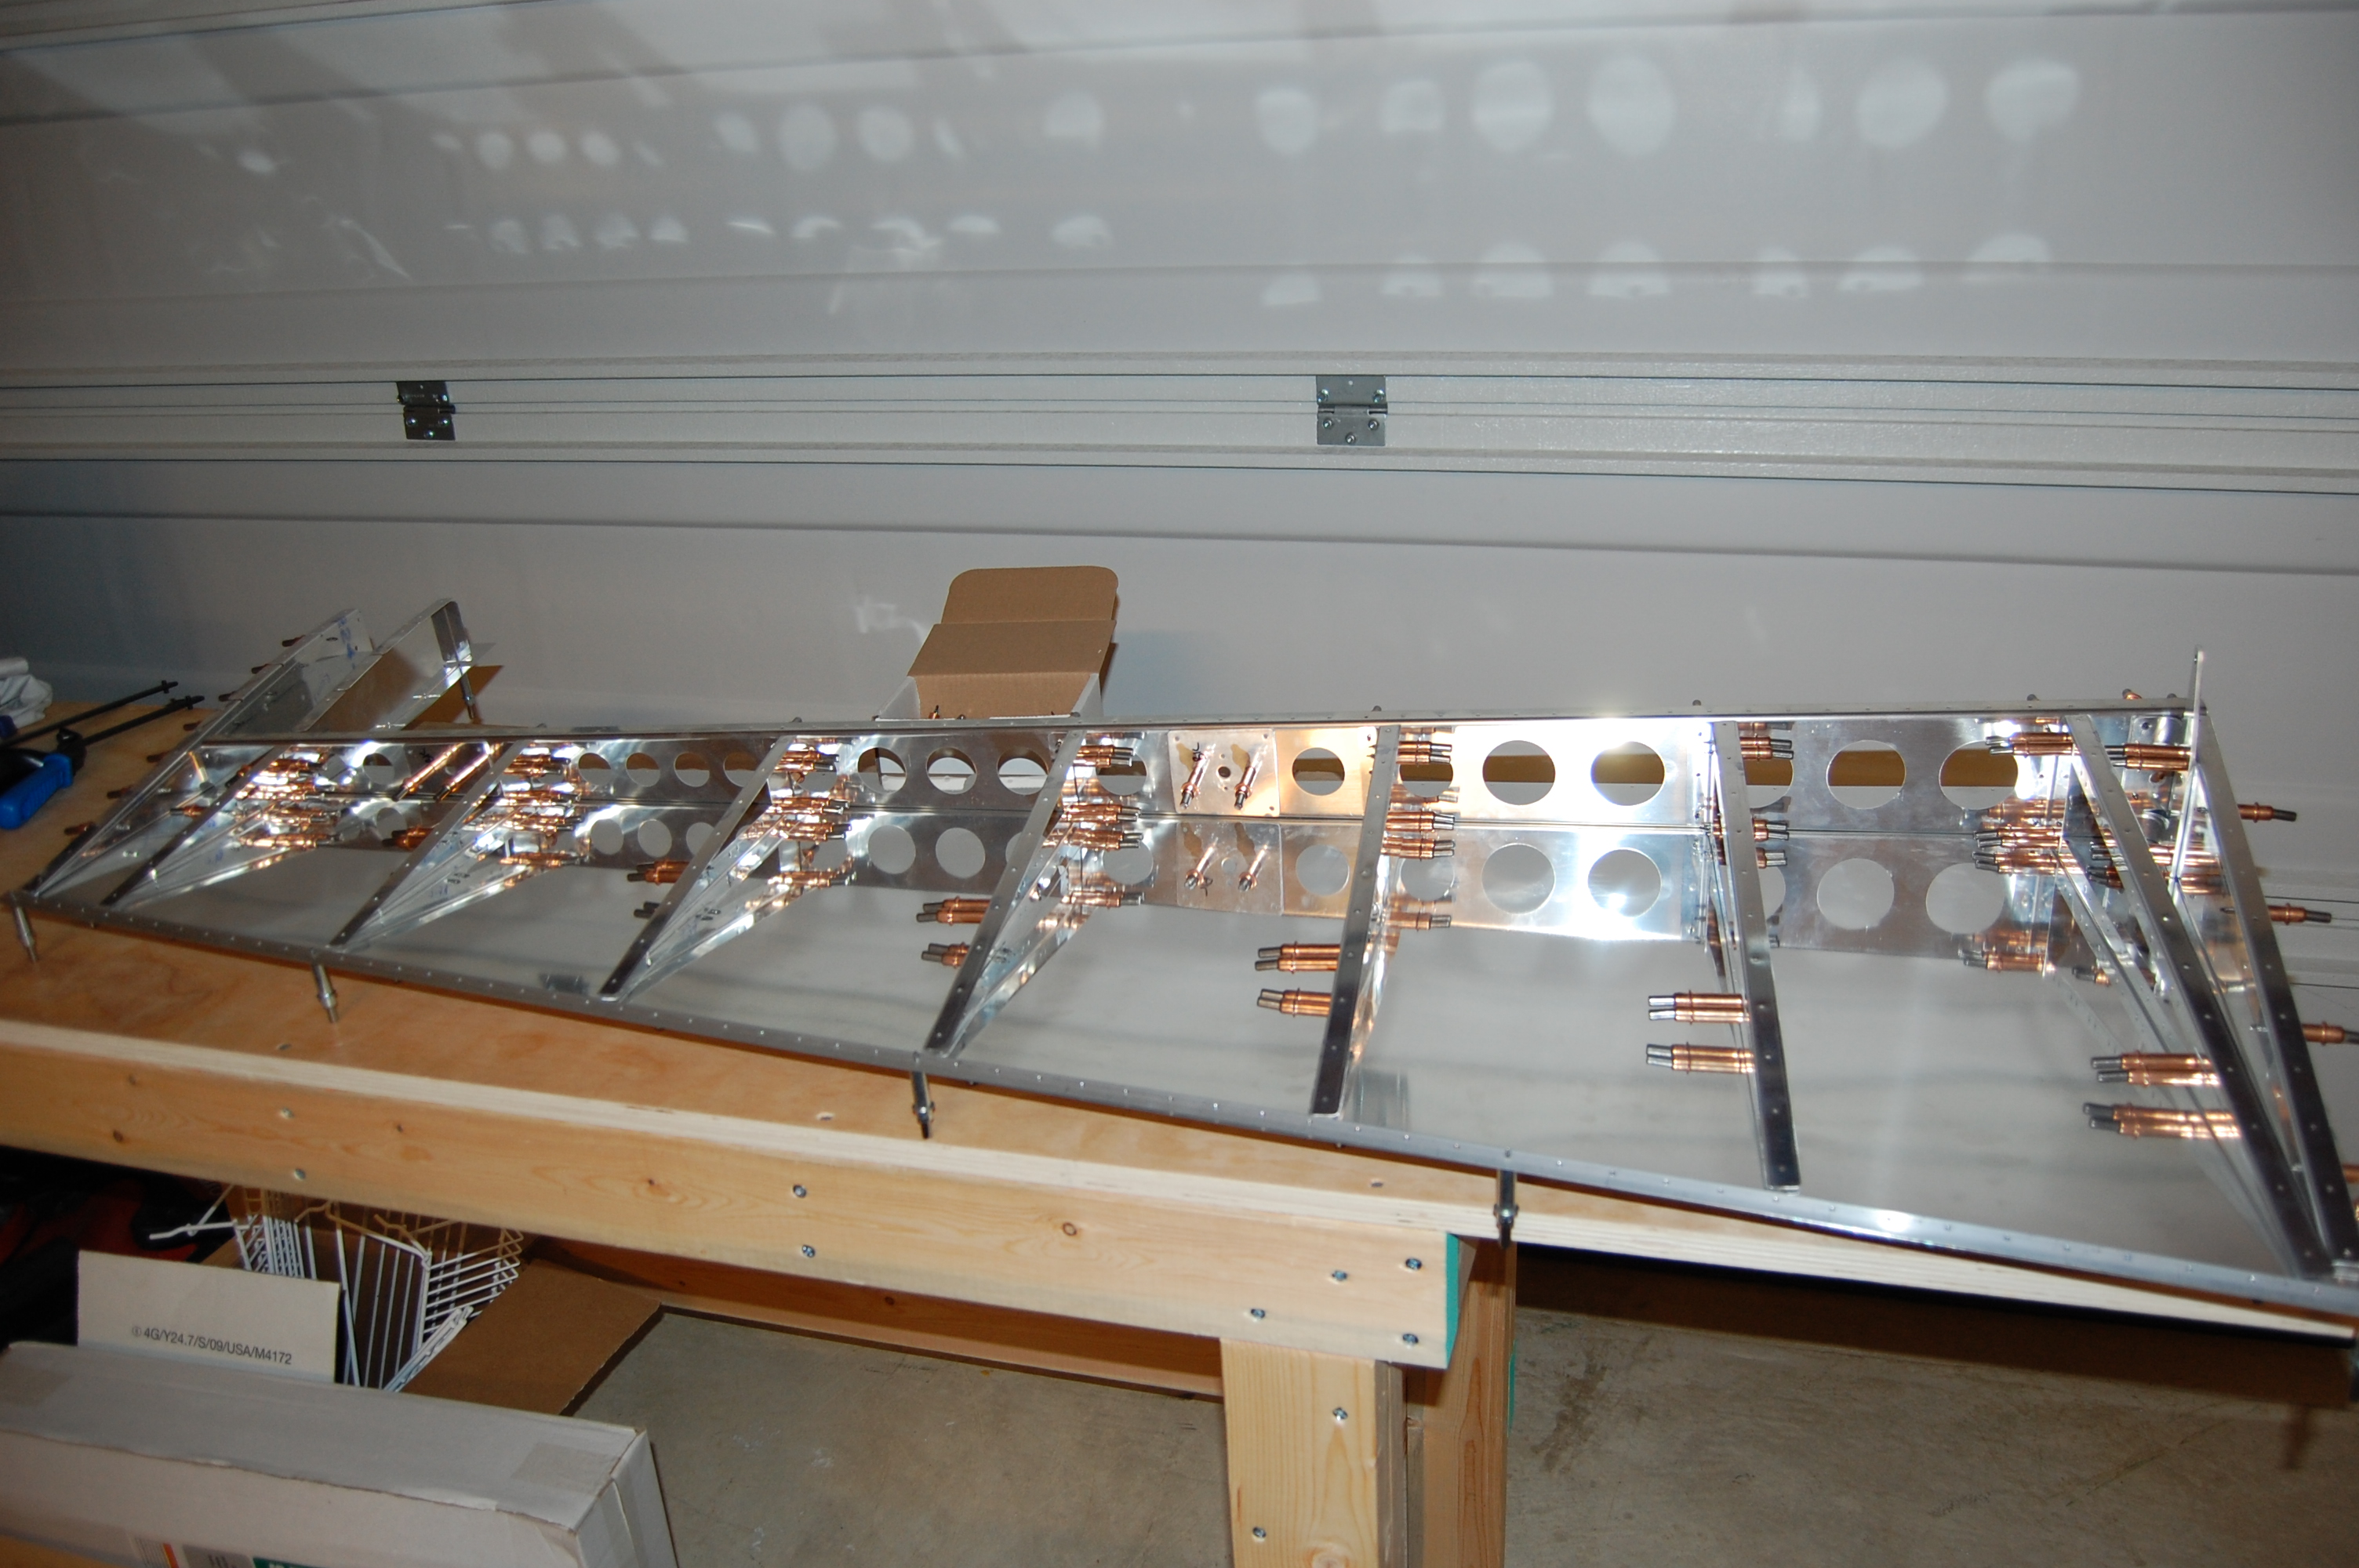
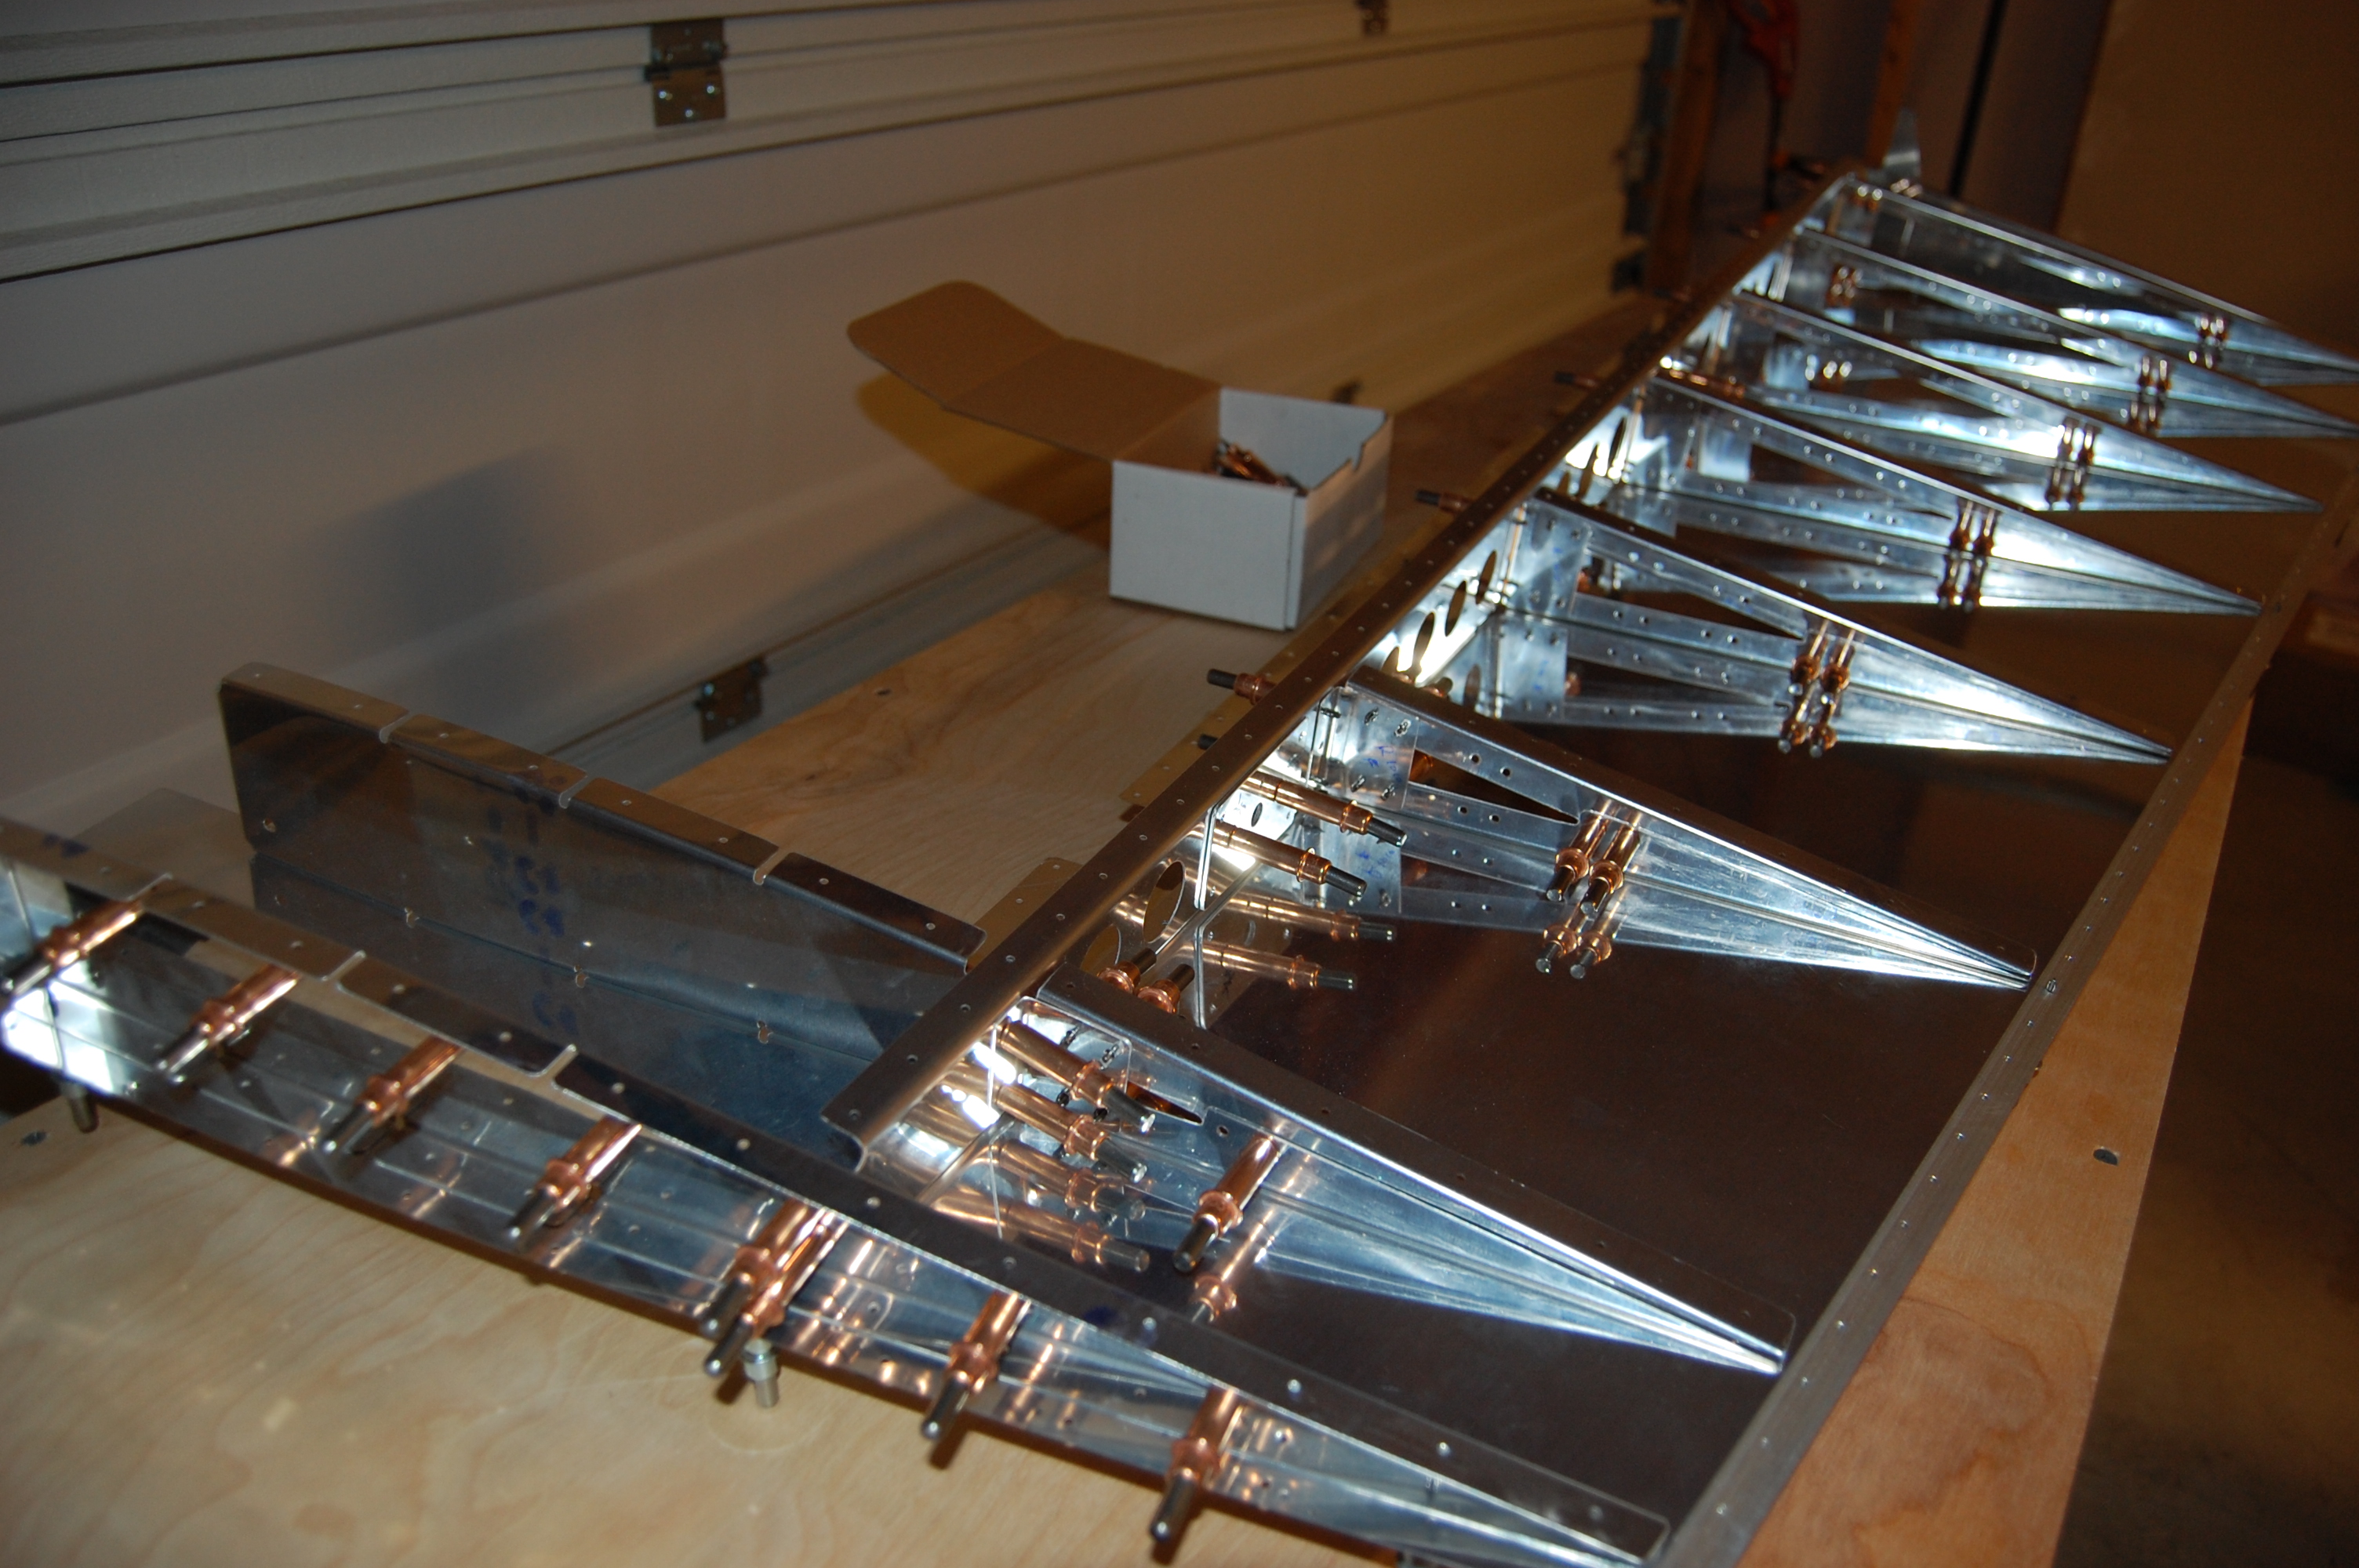
I final-drilled all of the rudder and disassembled it per the plans. Unfortunately, there were a couple of places where the clecoes must have been rubbing against something while we moved, and that left some small deformations around those particular holes. It’s nothing major, just an annoyance. I’m building an airplane and every rivet doesn’t need to be perfect.
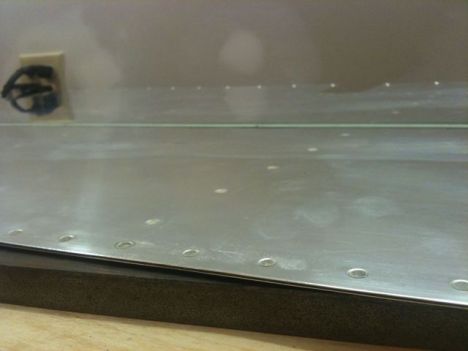
I used the edge roller from Avery Tools to put a slight inward bend on the trailing edges of both rudder skins. This will help the skins to sit down tight when the trailing edge is riveted.
Another few hours of deburring, cleaning and priming and it should be time to rivet the rudder together. Then I will get a chance to try out my new back-rivet plate (a 4-foot piece of cold-rolled steel I picked up from a local steel supplier).
It’s not spectacular, but you can see the photo below of the workshop. I took the picture with my iPhone using “Pano”, and app that takes multiple pictures and merges them together to form a panoramic photo. The ceiling looks like it’s bent, but that’s just an illusion from the merging of the photos. As you can see, the shop is cozy, but it works!

Filed under: Uncategorized | Leave a comment »
Posted on February 1, 2010 by mayrv10
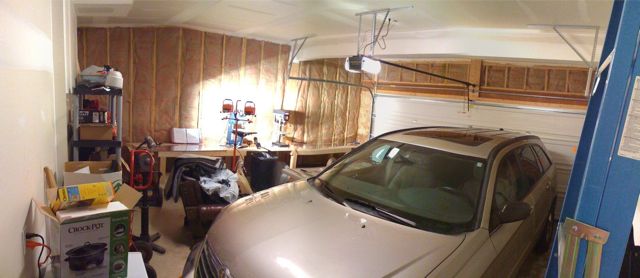
I stopped by home depot yesterday and picked up 6 rolls of faced insulation 32′ in length. If I’m going to take advantage of the project being at the house all year long, I’m going to need some more protection between me and the elements.
It took me about three hours to get the entire garage insulated. The difference is incredible. When we left for church this morning it was 20 degrees outside but it was 42 in the garage. Can’t wait to see how it feels in there once I get a heater going!
Sometime next week Rick and I will pickup some drywall from the depot and then we will tackle the rudder.
Filed under: Workshop Setup | 4 Comments »
Posted on January 24, 2010 by mayrv10
It’s been nearly 5 months since my last post, so here’s a recap:
I moved the project to a hangar at Newark (KVTA) in September. As it started getting cold, I didn’t get much work in on the project. I spent the month of October laid up sick. We had a new baby in October. I spent nearly every minute of November and December at work finishing up the year and making up for lost time. All in all, I think I got in about 2 hours of work on the plane in the four-and-a-half months it was at the hangar.
Since apparently that wasn’t enough to convince me to bring the project back to the house, my good friend and fellow RV-builder Rick Blaes offered his assistance and encouraged me to get a moving date on the calendar. Together, we piled everything into his truck and after two trips – and one stop at Route 62 BBQ – we had everything back into the garage.
This afternoon, Ashley and I arranged the garage into a workshop of sorts. We also finally got around to breaking down the crate that the kit had come in. She was a big help.
The next step is to insulate the outside wall of the garage and the door itself. That will go a long way towards helping me to work there during the cold months. I should be back to building very soon!
Filed under: Empennage, Workshop Setup | Leave a comment »
Posted on September 1, 2009 by mayrv10
I was so motivated after getting the Vertical Stabilizer put together that I got a lot done on the rudder this weekend. In between work and a fantasy football draft, I got both the skins and all the parts deburred. Then, I assembled the ribs – they are each made of two stiffeners riveted together – and clecoed the whole thing together to match-drill. It’s fun to see so much progress.
I was eating lunch over at the Newark-Heath airport yesterday and decided it was finally time to get my medical renewed and take my flight review so I am current. I’ve got both on the calendar this week. Ashley pointed out that it will be nice to be able to discuss my pilot’s license around friends without needing the disclaimer “well, yes, I have my pilot’s license, but I don’t really FLY.”
Filed under: Empennage | 1 Comment »