

Filed under: Workshop Setup | Leave a comment »
Filed under: Workshop Setup | Leave a comment »
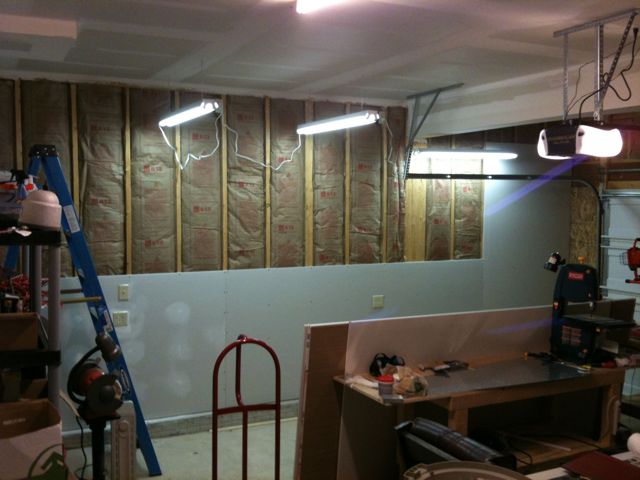
I stopped by home depot yesterday and picked up 6 rolls of faced insulation 32′ in length. If I’m going to take advantage of the project being at the house all year long, I’m going to need some more protection between me and the elements.
It took me about three hours to get the entire garage insulated. The difference is incredible. When we left for church this morning it was 20 degrees outside but it was 42 in the garage. Can’t wait to see how it feels in there once I get a heater going!
Sometime next week Rick and I will pickup some drywall from the depot and then we will tackle the rudder.
Filed under: Workshop Setup | 4 Comments »
It’s been nearly 5 months since my last post, so here’s a recap:
I moved the project to a hangar at Newark (KVTA) in September. As it started getting cold, I didn’t get much work in on the project. I spent the month of October laid up sick. We had a new baby in October. I spent nearly every minute of November and December at work finishing up the year and making up for lost time. All in all, I think I got in about 2 hours of work on the plane in the four-and-a-half months it was at the hangar.
Since apparently that wasn’t enough to convince me to bring the project back to the house, my good friend and fellow RV-builder Rick Blaes offered his assistance and encouraged me to get a moving date on the calendar. Together, we piled everything into his truck and after two trips – and one stop at Route 62 BBQ – we had everything back into the garage.
This afternoon, Ashley and I arranged the garage into a workshop of sorts. We also finally got around to breaking down the crate that the kit had come in. She was a big help.
The next step is to insulate the outside wall of the garage and the door itself. That will go a long way towards helping me to work there during the cold months. I should be back to building very soon!
Filed under: Empennage, Workshop Setup | Leave a comment »
This weekend I got some more work done on the shop. I found a filter/oiler combo at Harbor Freight which required some modification to work. I replaced the O-ring between the filter and the oiler – it leaked bad – with a brass coupling. Now it seals up perfectly.
With the compresor finally setup and ready to go, I can now fiddle around with the rivet gun. I also picked up a swivel regulator for the gun which seems pretty nice.
Ashley’s folks gave me a Home Depot gift card for my birthday so we went there after dinner today to pick up a band saw. The Ryobi unit looked very well built and was no more expensive than the junk at Harbor Freight! I’ve always beena little afraid of band saws, but after setting it up and seeing how the band stays in place I feel more comfortable with it. I cut a piece of wood just for kicks and it was actually kind of fun.
Worked about 5 hours on the shop this weekend.


Filed under: Workshop Setup | Leave a comment »
I was already feeling pretty good about table #1, but I think I’ve outdone myself. The younger sibling is much better built, and it was a lot easier to build. I was able to build this table on my first table, which saved my back and drastically reduced my ibuprofen intake. It reminded me of the lessons we learn when we do something the first time, and how much better our work can be the second time around. I’m anxious to apply that learning to the project as a whole.
Dad’s coming down on Saturday so we can build him a table for his Zenith CH-750 kit. Surely the third table won’t be quite as amazing as the 2nd!
Ibuprofen needed: Zero!
Hours worked: 3
Filed under: Workshop Setup | Leave a comment »


I’m building two of the EAA Chapter 1000 standardized work tables from plans found here: http://www.eaa1000.av.org/technicl/worktabl/worktabl.htm
I decided that a 2′ table sounded shallow, but that I would trust those who have gone before me. Turns out, it’s a great depth for the table. I remember the 4′ tables I built for the legacy were a pain to walk around every time you wanted to grab a tool from the other side.
I bought all the materials for two tables at Home Depot for $138. I just printed out the schedule of cuts from the EAA 1000 website and had the folks at Home Depot make the cuts for me. We barely fit the plywood into our Pacifica, but we managed to get it home.
I quickly learned that our garage floor was far from level, so I shimmed the piece that would become the top of the table so it was level. Then I built the table upside-down, making sure to keep everything as square and level as possible.
Ibuprofen required: 3
Drill bits broken: 2
Hours worked: 3
Filed under: Workshop Setup | Leave a comment »

Just another day on the job...
Filed under: Workshop Setup | 1 Comment »
